Using Auto-Ingest on The Library - on PC
This article will share with you how to use the auto-ingest feature on The Library, where you can use a secondary portal to upload multiple files to multiple Materials at once. We use an FTP client, an FTP client is an application on your computer that connects you to remote servers through FTP and other protocols, An FTP client provides an environment in which you can upload files to our server. In this article I will be using CyberDuck (Free), though Filezilla Pro (at a cost) is also a recommended alternative.
Auto-Ingest is where you can upload multiple files at once to pre-existing Materials. Please note - this does not automatically submit your file for clearance. You'll need to make sure that your Material has firstly been created on The Library, and if you're submitting it for clearance, that you do so on The Library.
Auto ingest is only designed for a) agencies submitting a high number of ads and/or b) organisations who have split their workload into creators and uploaders. For many users, it will be just as quick and often simpler to use the platform as intended: uploading one video to one Material at a time/per browser tab. Please contact the helpdesk if you would like to discuss advice on whether this functionality would suit your workflow.
Because of this, not every organisation will be given the ability to use Auto-Ingest. You'll need to be given Auto-Ingest ability as an organisation, and then you as a user will have specific permission.
As a first step, please contact help@clearcast.co.uk to give your organisation the Auto-Ingest function, and let us know which users you want to be able to auto-ingest - make sure they're users who already have 'Uploader' Roles.
Connecting Cyberduck and using Auto-ingest
It's time to connect your Library details to your Cyberduck account - this means that when you upload into your Cyberduck it will also be uploaded via your Library account.
Download Cyberduck for PC onto your computer. Once you've got it open, select the 'Open Connection' option in the top left and you'll see a screen like this:
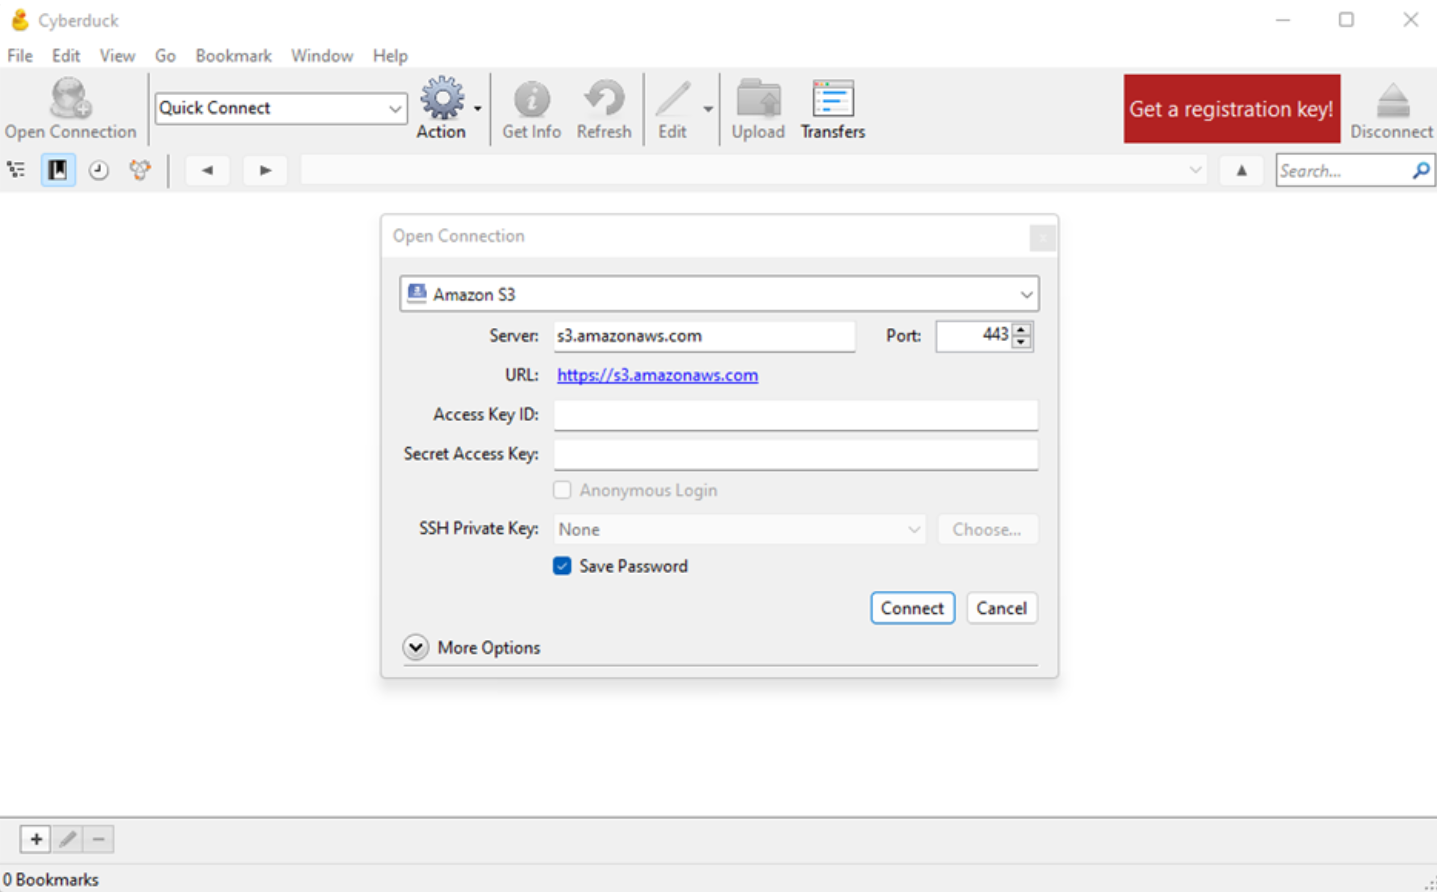
Firstly, chose 'Amazon s3' from the upper drop-down in the port. This will give you the correct settings in which you can connect your Library details. Leave this open.
Then, load up The Library in a separate window. Go to your settings via the top right option from any page.

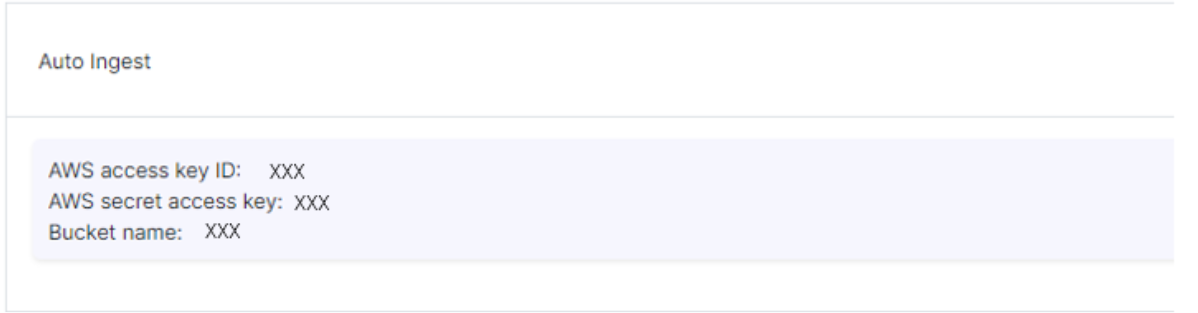
Then scroll down until you see a section titled 'Auto Ingest'. Here will be your information that you'll need to match up with the Cyberduck pop-up.
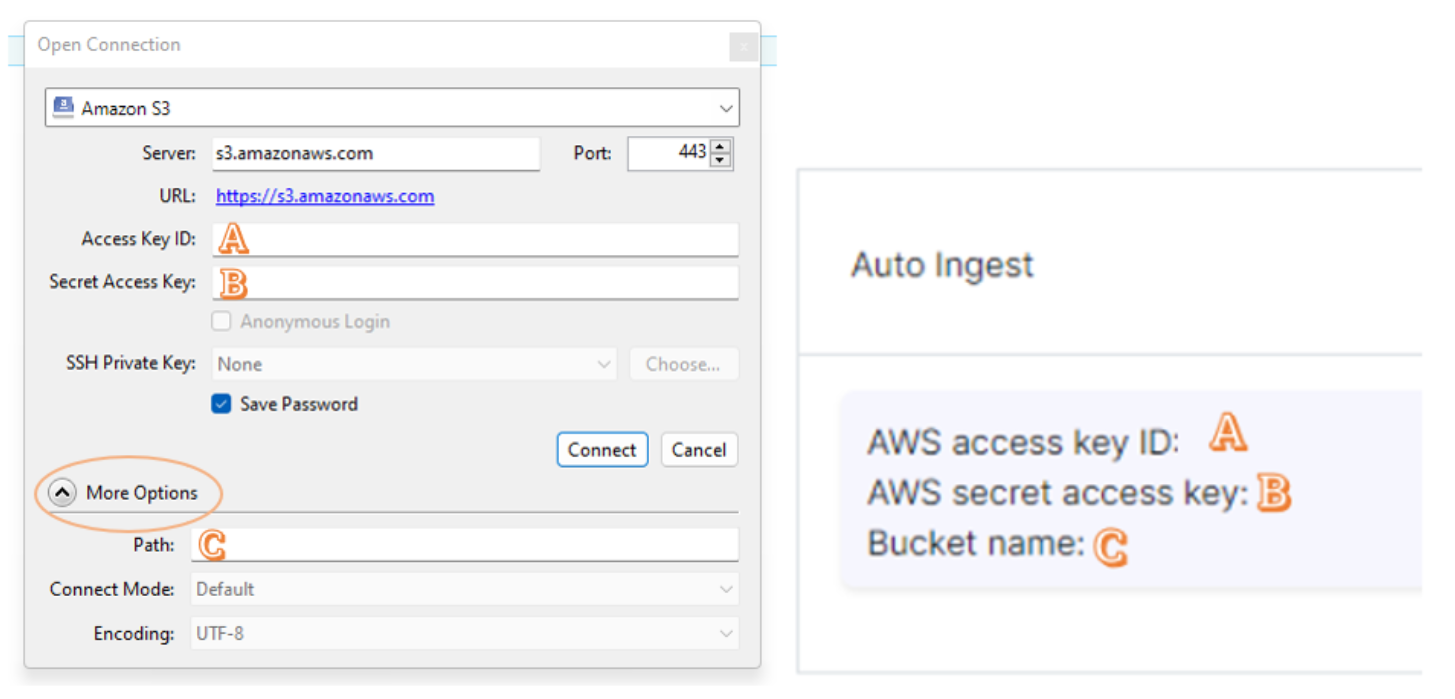
Please input your 'AWS Access key ID' letter/digit combo into your 'Access Key ID' section in CyberDuck.
Please input your 'AWS secret access key' lett5er/digit combo into your 'Secret Access Key' section in CyberDuck.
Please select 'More Options' and then input your 'Bucket name' letter/digit/hyphen combo into your 'Path' section in Cyber Duck.
(See below a more visual match up for further clarity.)
Then 'Connect.'
(To save this for next time, I would also recommend creating a bookmark - either right click anywhere in the main box and select 'New Bookmark', and then input the same information - or just press Ctrl+Shift+B within the application.)
Now you're all set up. To actually use Auto-Ingest, you'll first need to create your Material as usual on The Library. This can be done at any time before uploading the file, and can be done by anyone who has the 'Creator' role on The Library, whether in the same organisation as yourself or separate.
Then you need to make sure your file name is exactly your clock number except there should be underscores instead of slashes.
For example: if you're uploading for Material QQQ/DUCK001/020, your file should be saved as QQQ_DUCK001_020. This is really important, to join up the files you're uploading to the Materials they need to go to!
Back to CyberDuck to actually upload the files you've saved to the Material you've created. Click into the connect you created so you see an otherwise empty box. Then, just start dragging and dropping your files to start transfer. They will upload as fast as your internet speed allows - so if you're uploading twenty large files, you may have to leave it running in the background.
Once uploaded, they're gone and sent to The Library. This faces the same restrictions as if you were uploading onto The Library directly - aka once uploaded and passed QC that clock number is locked in, so make sure you're submitting the right files!

Email error notifications
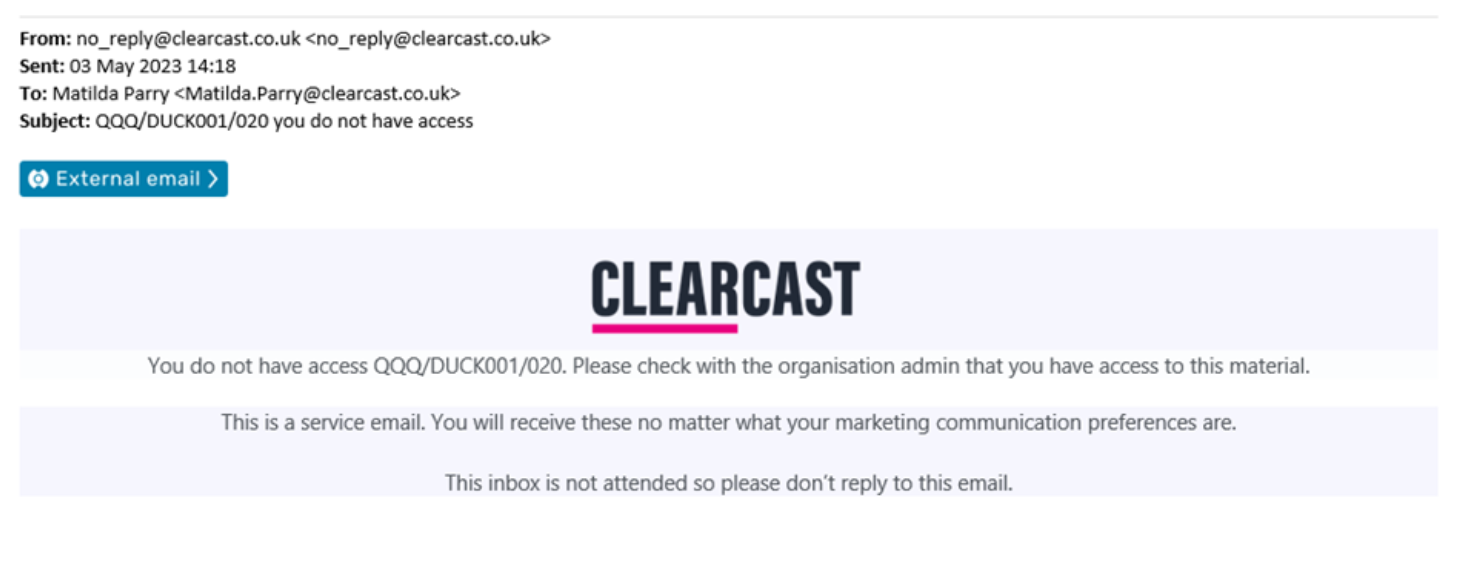
If you receive an email that tells you that you do not have access to the attempted Material, this will mean you do not have permission (so you aren't set up as an uploader/collaborator for the agency) or that a video is already uploading or has been uploaded to that Material/clock number.
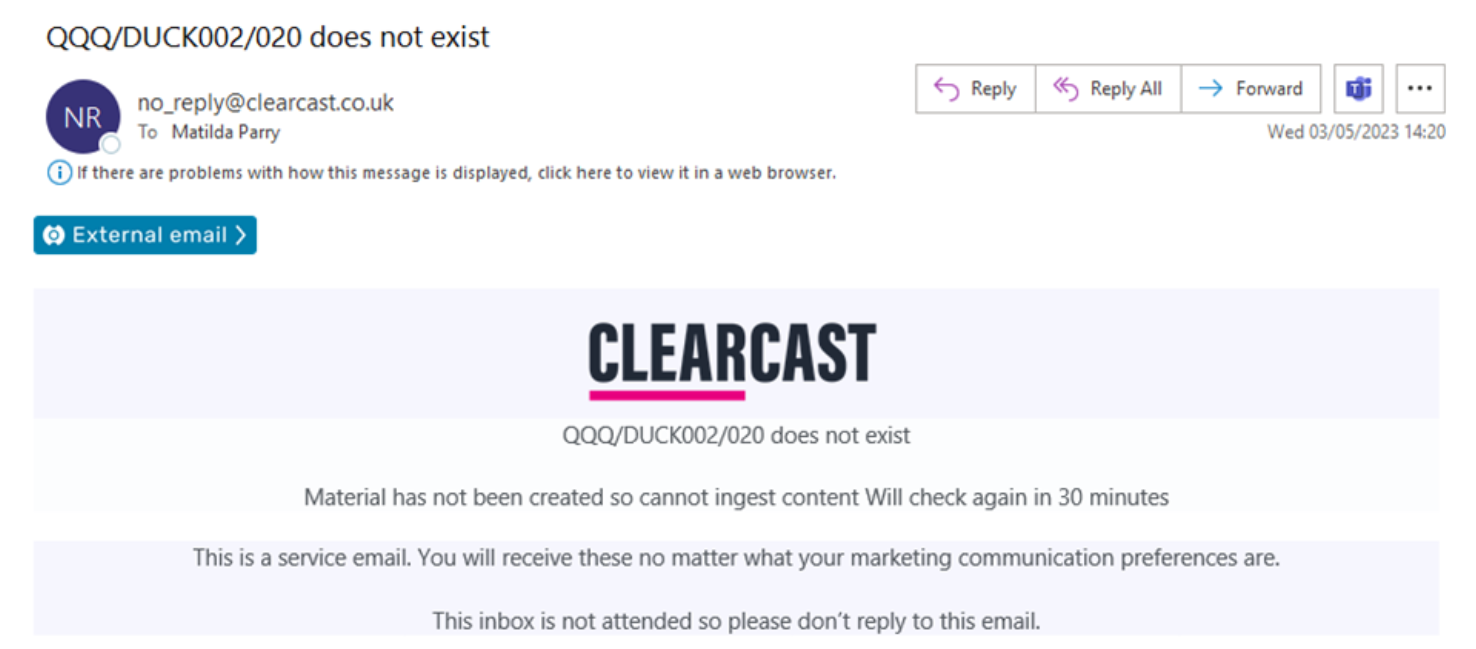
If you receive an email that tells you this clock number does not exist, please double check what you have saved the file as, and that the Material has already been created.
Any questions, please contact the helpdesk at help@clearcast.co.uk.