
AD Audio Layout and QC
This article outlines the steps that need to be taken when submitting an ad with Audio Description (AD) for clearance on The Library.
Below, you can also find the required audio structure and layout for a video that contains AD submitted to The Clearcast Library. It contains a breakdown of all the elements required for a Material to pass QC and documents what specifications are tested at each QC step.
Audio Layout
At the script stage, please ensure you include your AD in the script for your exec to review.
At the rough-cut stage, if submitting your AD recording, please make sure you still only have two channels:
1) stereo merged into one
2) your AD
Please make sure it's still clear for your exec to hear and understand.
The Library
When submitting your TVC with AD, make sure to check the toggle at Material creation stage:
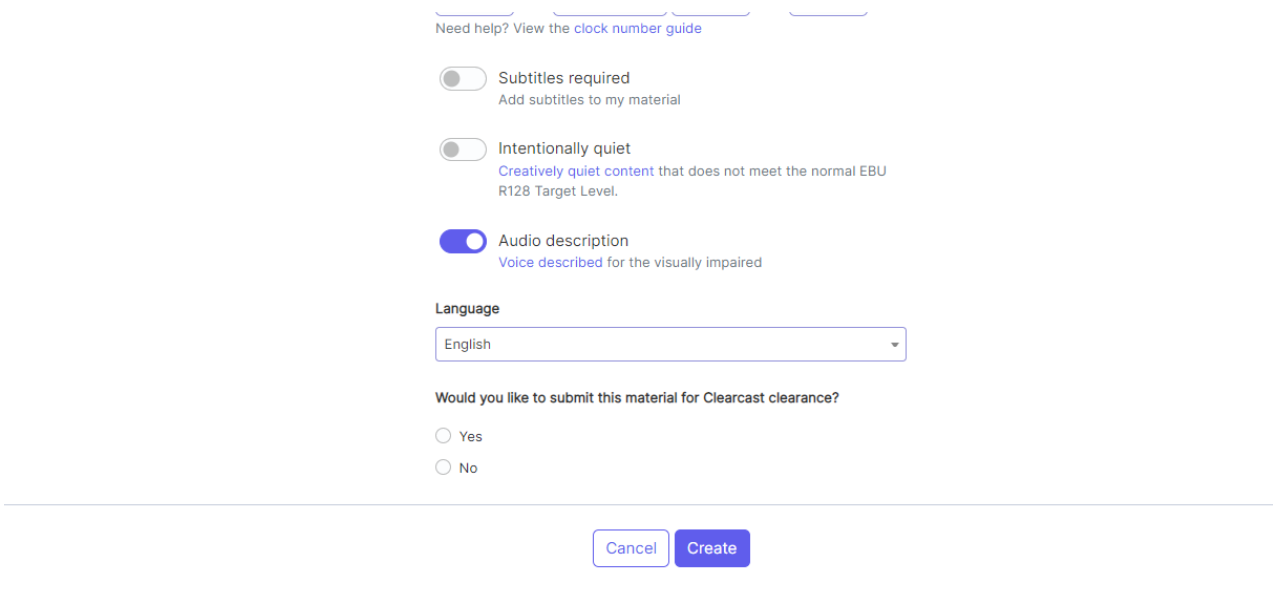
This means the system knows to check your audio channel layout. As for AD-included content, it will need 4 channels, whereas non-AD content will only have audio across 2 channels.
The audio channel layout on The Library is as follows:
2 Streams: 2 channels per track, or 4 mono channels
Channel 1: Stereo L
Channel 2: Stereo R
Channel 3: Audio Description/Mute
Channel 4: Control Track/Mute
Passing Audio QC
Please find a description below on ensuring your TVC has 2 stereo pairs (4 channels over 2 tracks) which are at the correct LUFS level (-23.00). This document uses Adobe Premiere Pro.
The basic steps below:
1) Ensure you have set up multichannel for Audio Description by creating a new audio sequence and then go to your tracks to see your different audio tracks. Create 4 separate audio channels and split your audio over those channels by assigning them across stereo, and then apply this audio sequence settings to your existing main audio.
2) Correct your loudness levels across those created channels. Go to your audio mixer and find your 'Loudness Radar' effect, which applies a radar in which you can see your loudness range and adjust to meet the -23 LUFS standard for TV. You can add 'Hard Limiter' as another effect and adjust the input boost and maximum amplitude according to the Loudness Radar's results.
3) Add your clock and freeze frame and make sure the file is ready to be exported. Use all settings for a TV export, and make sure your streams are set to stereo in your audio configuration.
To test the video has been exported correctly and that it has created two separate stereo audio channels, import the exported file back into the split audio sequence. The export should have one audio channel with the main mix, playing out of channels 1+2 and a secondary audio channel with the audio description on it, playing out of channels 3+4.